One great thing about New Stampin’ Up!® catalogs is- New product.
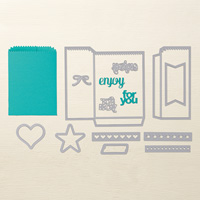
I am totally loving the Mini Treat Bag Thinlits Dies.
As a Demonstrator, one of our perks is that we can order product about a month ahead of time and play with the product. I knew when I ordered this item it would be one of my new favorites. Here is a project with this die that I made two weeks ago and then gave it to someone who gave Me excellent customer service. But, not before I took pictures for you.

I have a picture tutorial for you how to create this little package.
What you get in the Mini Treat Bag Thinlit Die kit:

Now to create.
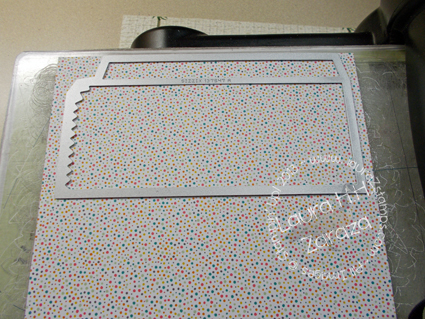
1. Cut out the first piece with the Larger die.

2. Cut out the next size die.
3. Now crease and fold over.

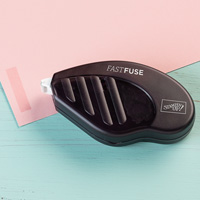
TIP: I used Fast Fuse to glue and seal but you can use your adhesive of choice.
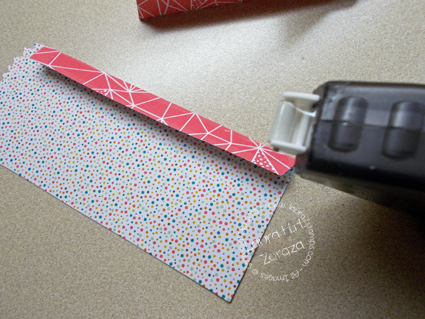
4. Piece together.

5. Adhesive and then fold onto itself.
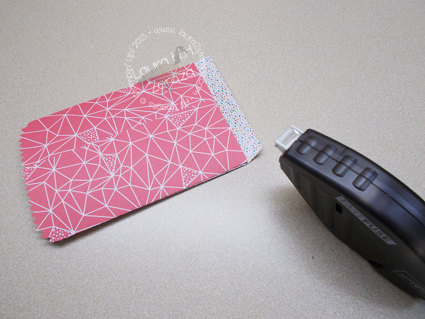
6. Now add adhesive to bottom flap and fold over.

Done and Done.

Other side:
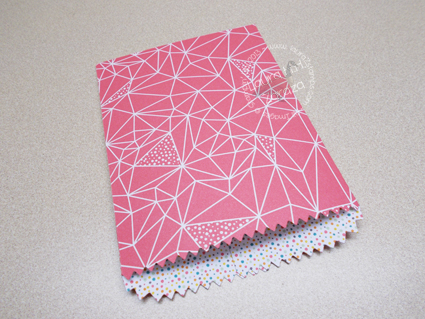
Just to recap the Main package:
Fill ‘er up! I’ll bet you can find lots of ways to use this die. Think, Thank You’s, Party Favors, use as an envelope, etc, etc, etc.

Here are all the current supplies I used for these bags:


Leave a Reply